GY6 Engine [BIG BORE KIT]
![GY6 Engine [BIG BORE KIT] GY6 Engine [BIG BORE KIT]](https://gy6motor.net/image/cache/gy6/product/taida/GY6-01054-61W-Taida-Cylinder-61mm-171cc-Big-Bore-Kit-Cast-Piston-Fit-54mm-GY6-2-1000x563.jpg)
Thinking about GY6 Engine Big Bore Kit
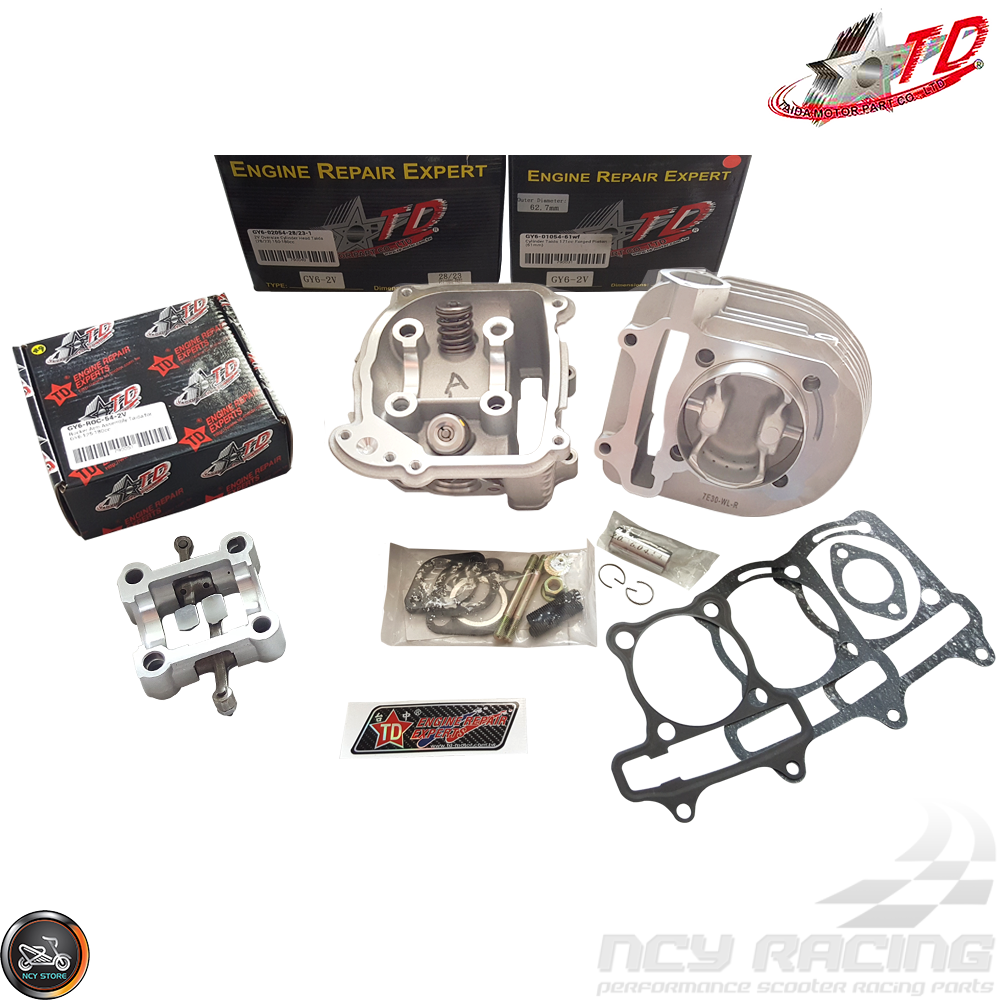
Should you buy a GY6 Big Bore Kit?
If riding has become a bit boring and you don’t feel that your current set-up challenges you enough, then you might like your scoot better by installing a big bore kit when you need a top-end. You will be able to notice changes the next time you ride, pretty quickly. And you will also feel a new level of achievement when it comes to gaining more top-end speed increase but only when you make all the other necessary changes like tuning your carburetor, air-filter, and CVT transmission kit upgrades as well.
Racing with a Much Bigger GY6 Engine
Some AMA-sanctioned races or series with strict rules ban bigger bores, so before heading into any competition, make sure that you know the rules. Although, a 270cc engine alongside 250cc class engines may be allowed to run by most Motocross and off-road races. The big bore set-up is also allowed by some open displacement classes, like the 30+ and 40+ vet classes.
Other times, riders have a "project scooter" they build from the ground up as time and money allow. Building up a scooter in this manner gives you the time that you need to install a big bore kit so you can make all the necessary adjustments and required upgrades while you do it.
Regardless, if you have not installed any upgrades or made any type of modification to the engine then you shouldn’t bother with a big bore kit. Most riders tend to install the bigger bore AFTER installing an EFI controller, replacing the stock exhaust, and making all kinds of engine modifications that would handle the bigger bore.
I used a GY6 Big bore kit. Installing big bore kits larger or smaller (including stock replacement) should be very similar. Some specifications (torque specifications, ring end gaps, etc.) can vary for different applications. First chemical, parts, and tools you need.
DO IT YOURSELF---------------------------
- Time Required: 60-120mins.
- Skill Level: Medium
Chemical List:
- CRC Sta-Lube Anti-Seize Engine Assembly Lube
- CRC Throttle Body and Air-Intake Cleaner
- Bel-Ray Oil Exl Mineral 4T 10W-40
- Loctite Heavy Duty Threadlocker Blue 242
- Mobil 1 Synthetic Gear Lube 75W-90
- Mobil 1 Synthetic Grease
- Permatex Copper Spray-A-Gasket Hi-Temp Sealant
- Permatex Dielectric Tune-Up Grease
- WD-40 Specialist Penetrant Spray (Blu Torch)
- Scott Shop Towels (optional)
Parts Used:
- Dowel Pins 10x14mm Set
- Heavy Duty Cable Zip Ties 12 Inch (optional)
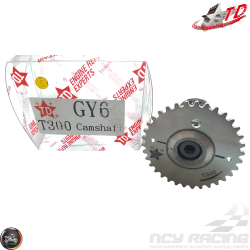
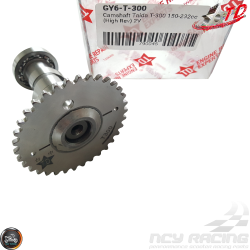
- NCY Camshaft Performance 2V 26.25/26.15
- NGK Spark Plug Iridium (CR7HIX)
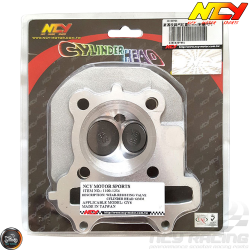
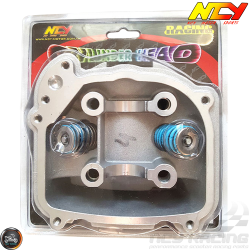
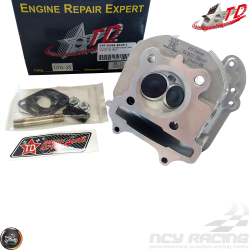
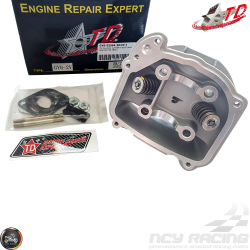
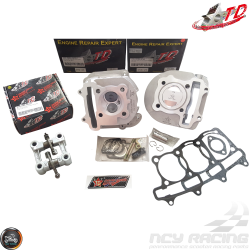
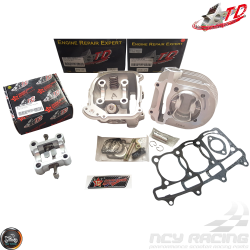
- Taida Cylinder Head 61mm 171cc 2V 28/23 Fit 54mm
- Taida Cylinder 61mm Forged Piston Kit
- Taida Rocker Arm Assembly 2V Fit 54mm
- Taida Valve Cover Non-EGR
Tools Used:
- 8mm, 10mm, 12mm Sockets with 4" min-ext Wrench
- 9mm Wrench and Adj. Wrench
- 5/8" Spark Plug Socket
- Big Head Phillip Screw Driver
- Feeler Gauge .004, .005, .006
- Flat-Head (narrow)
- Mallet Hammer
- Needle-nose Pliers
- Oil Cannister Pump
- Oil Drain Pan
- Oil Funnel
- Torque Wrench 5-7’ Foot Pounds
How to install Taida Big Bore Kit 171cc (bolt-on!) GY6 152QMI/157QMJ
- Pull the engine out of the scooter and put it up on your workbench.
- Assuming you removed the carburetor to get the engine out, the next step is to remove the two nuts holding the intake manifold.
- Take out the bolts holding the engine and fan covers on and pull out the covers.
- Remove the bolts holding the valve cover on and remove the valve cover.
- Turn the flywheel until the "T" mark on the flywheel matches with the engrave timing mark on the engine case.
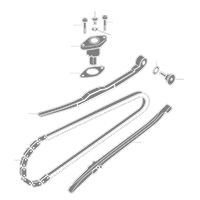
- Now take out the bolt, gasket, and spring from the cam chain tensioner.
- Then, remove the cam chain tensioner.
- Remove the nuts that hold the camshaft holder and rocker assembly, then take out the cam holder.
- Remove the camshaft from the cam chain and pull the cam out of the cylinder head.
- Now remove the bolts that hold the cylinder and head to the engine case.
- Pull the head off of the cylinder and studs.
- Next, remove the head gasket.
- Now free the cylinder from the engine case.
- Pull the lower camshaft chain guide outward to remove it.
- Pull the cylinder the rest of the way off.
- Take out the guides that are left in the cylinder or cylinder head.
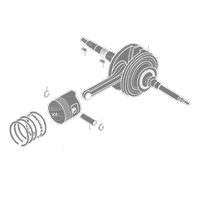
- The next step is to remove the circlips – the little clips holding the wrist pin – from the piston.
- Push the wrist pin out and take the piston off of the connecting rod.
- Prep your big bore kit for installation.
- Prep your piston ring and set the end gap for the top compression ring to .004" per inch of the cylinder bore and the second end gap to .005". To set the end gap, begin by placing the piston ring in the cylinder. Make sure the marks are facing up.
- Ensure the ring is installed straight so you can get an accurate measurement.
- Now use feeler gauges to measure the distance between the ring's ends.
- Apply light pressure and try to maintain the original angle of the ring's ends.
- To install them on the piston, start by putting the top compression ring in the expander tool and opening it just wide enough to fit over the piston.
- Move the ring into position in the top ring land and slowly release the pressure from the piston ring expander.
- Repeat this procedure. Place the 2nd compression ring into the middle ring. Check that the two thin rings are on each side of the wavy ring when installing the oil control rings.
- Put the assembly lube to the wrist pin, the piston guide, and the inside of the connecting rod, and slide the wrist pin in as far as you can without it sticking out in the center of the piston.
- Attach the circlips on the wrist pin’s both sides.
- Make sure the circlip is tight in its groove. Move it so that it opens toward the top or bottom, not the sides, of the piston.
- Wipe the mating surface block and attach the base gasket and locator dowels.
- Apply assembly lube on the piston and the inside of the cylinder. Rotate the piston rings to ensure there are no end gaps lining up with each other.
- Gently put the cylinder on the piston, careful that you don't snag any rings.
- After the rings are inside the cylinder, tug the camshaft tensioner through the cylinder.
- Slide the cylinder in place until it is up against the engine's case.
- Then, slip the camshaft chain guide into its place in the cylinder.
- Install the locator dowels and the head gasket.
- Place the cylinder head into position and make sure the intake port is facing up.
- Screw the two bolts on the side of the cylinder tightly.
- Check to make sure the engine is still on top dead center ("T").
- Put assembly lube or two-stroke oil on the bearings and lobes of the camshaft and the races in the cylinder head and camshaft holder/rocker assembly.
- Place the camshaft on the head and cam chain.
- Keep the locator dowels in place and slide the camshaft holder/rocker assembly over the cam.
- Use the copper washers and nuts to secure the camshaft holder. Rotate them to a 13 ft/lbs of a criss-cross pattern.
- On the side of the engine. torque the cylinder/head bolts to 8 ft/lbs.
- Next, reset the cam chain tensioner.
- Place the cam chain tensioner on the cylinder with a new gasket.
- Fit in the spring and fix the bolt and gasket.
- Use feeler gauges to check the valve lash.
- Place the feeler gauge in the middle of the tip of the valve and the rocker arm's tip. I use .003" of clearance for the intake valve and .004" of clearance for the exhaust valve. The service manual I have suggests .002". .003" and .004" have worked well for me on both 50cc and 150cc GY6 engines.
- If the valve clearance is not what you want, loosen the nut that secures the adjuster with a 9mm wrench. Now you should be able to turn the adjuster with your fingers.
- Insert the feeler gauge and move it as you turn the adjuster. Stop when you feel slight resistance.
- Use a small adjustable wrench or pliers to hold the adjuster while you tighten the nut with a wrench. Once you have the nut tight, make sure you haven't changed the valve clearance when tightening the nut. If you have altered valve lash, repeat the process.
- Inspect the valve cover gasket and replace it if necessary.
- Install the valve cover and tighten the bolts in a criss-cross pattern.
- Gap a new spark plug to your desired specifications, normally, I gap them to .028".
- Once your spark plug is gapped properly, apply some anti-seize to the threads and install it in the cylinder head.
- Re-install the engine covers and cam chain tensioner cover.
- If you’re using a new cylinder head, you may need to install intake manifold studs into it.
- Tighten them to finger tight. They will tighten more when you install the intake manifold nuts.
- If you haven't already, take out the intake spacer from the old head.
- Check the condition of the o-rings and/or gaskets and replace them if necessary.
- Install the spacer on the new cylinder head.
- Slide the intake manifold over the studs.
- Lodge the intake manifold nuts and tighten them to 8 ft/lbs.
- If you’re using a new cylinder head, install exhaust studs.
- Now you are ready to install your carburetor, air filter, and exhaust. Once that's done, you can put it back in your scooter.
Tip:
Make sure that you perform an engine oil change before you start the engine. And remember that, installing requires attention to detail, correct tools, and quite basic mechanical experience and if you don't have these, it may be best to find a professional for the job. Keep in mind the next time that you need a top-end, you shouldn’t just slap it in. You need to adjust and upgrade everything else so that you can prevent engine damage or diminished power.
*The video below shows a dry installation demo ONLY. However, recommend proper cleaners and lubes (chemical list above) when assembling for actual engine use.
Here is how to determine your actual power displacement small engine is always measured in a cubic centimeter (cc) not horsepower like cars.
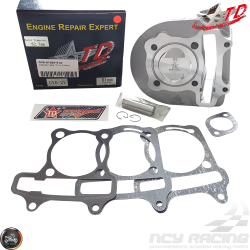
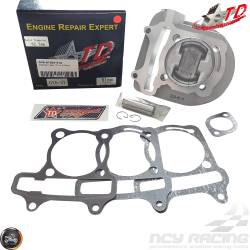
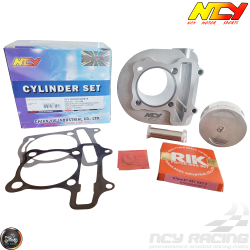
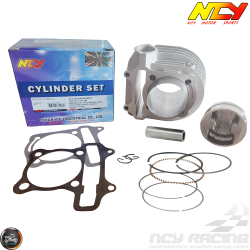
Here is what it would look like Naraku Cylinder 52.4mm w/Piston. Keep in mind the only thing that affects engine power increase top-end speed is just that the top-end changes the cylinder jug w/piston and its paired crankshaft stroker length. That it. The CVT/Transmission Kit can only help make engagement at the wheel faster but not add top-end miles per hour gain. With that said here is my calculation engine displacement power of what you could have gotten with Naraku 52.4mm BBK with standard crankshaft 41.4mm and with an extended crankshaft 44mm installed:
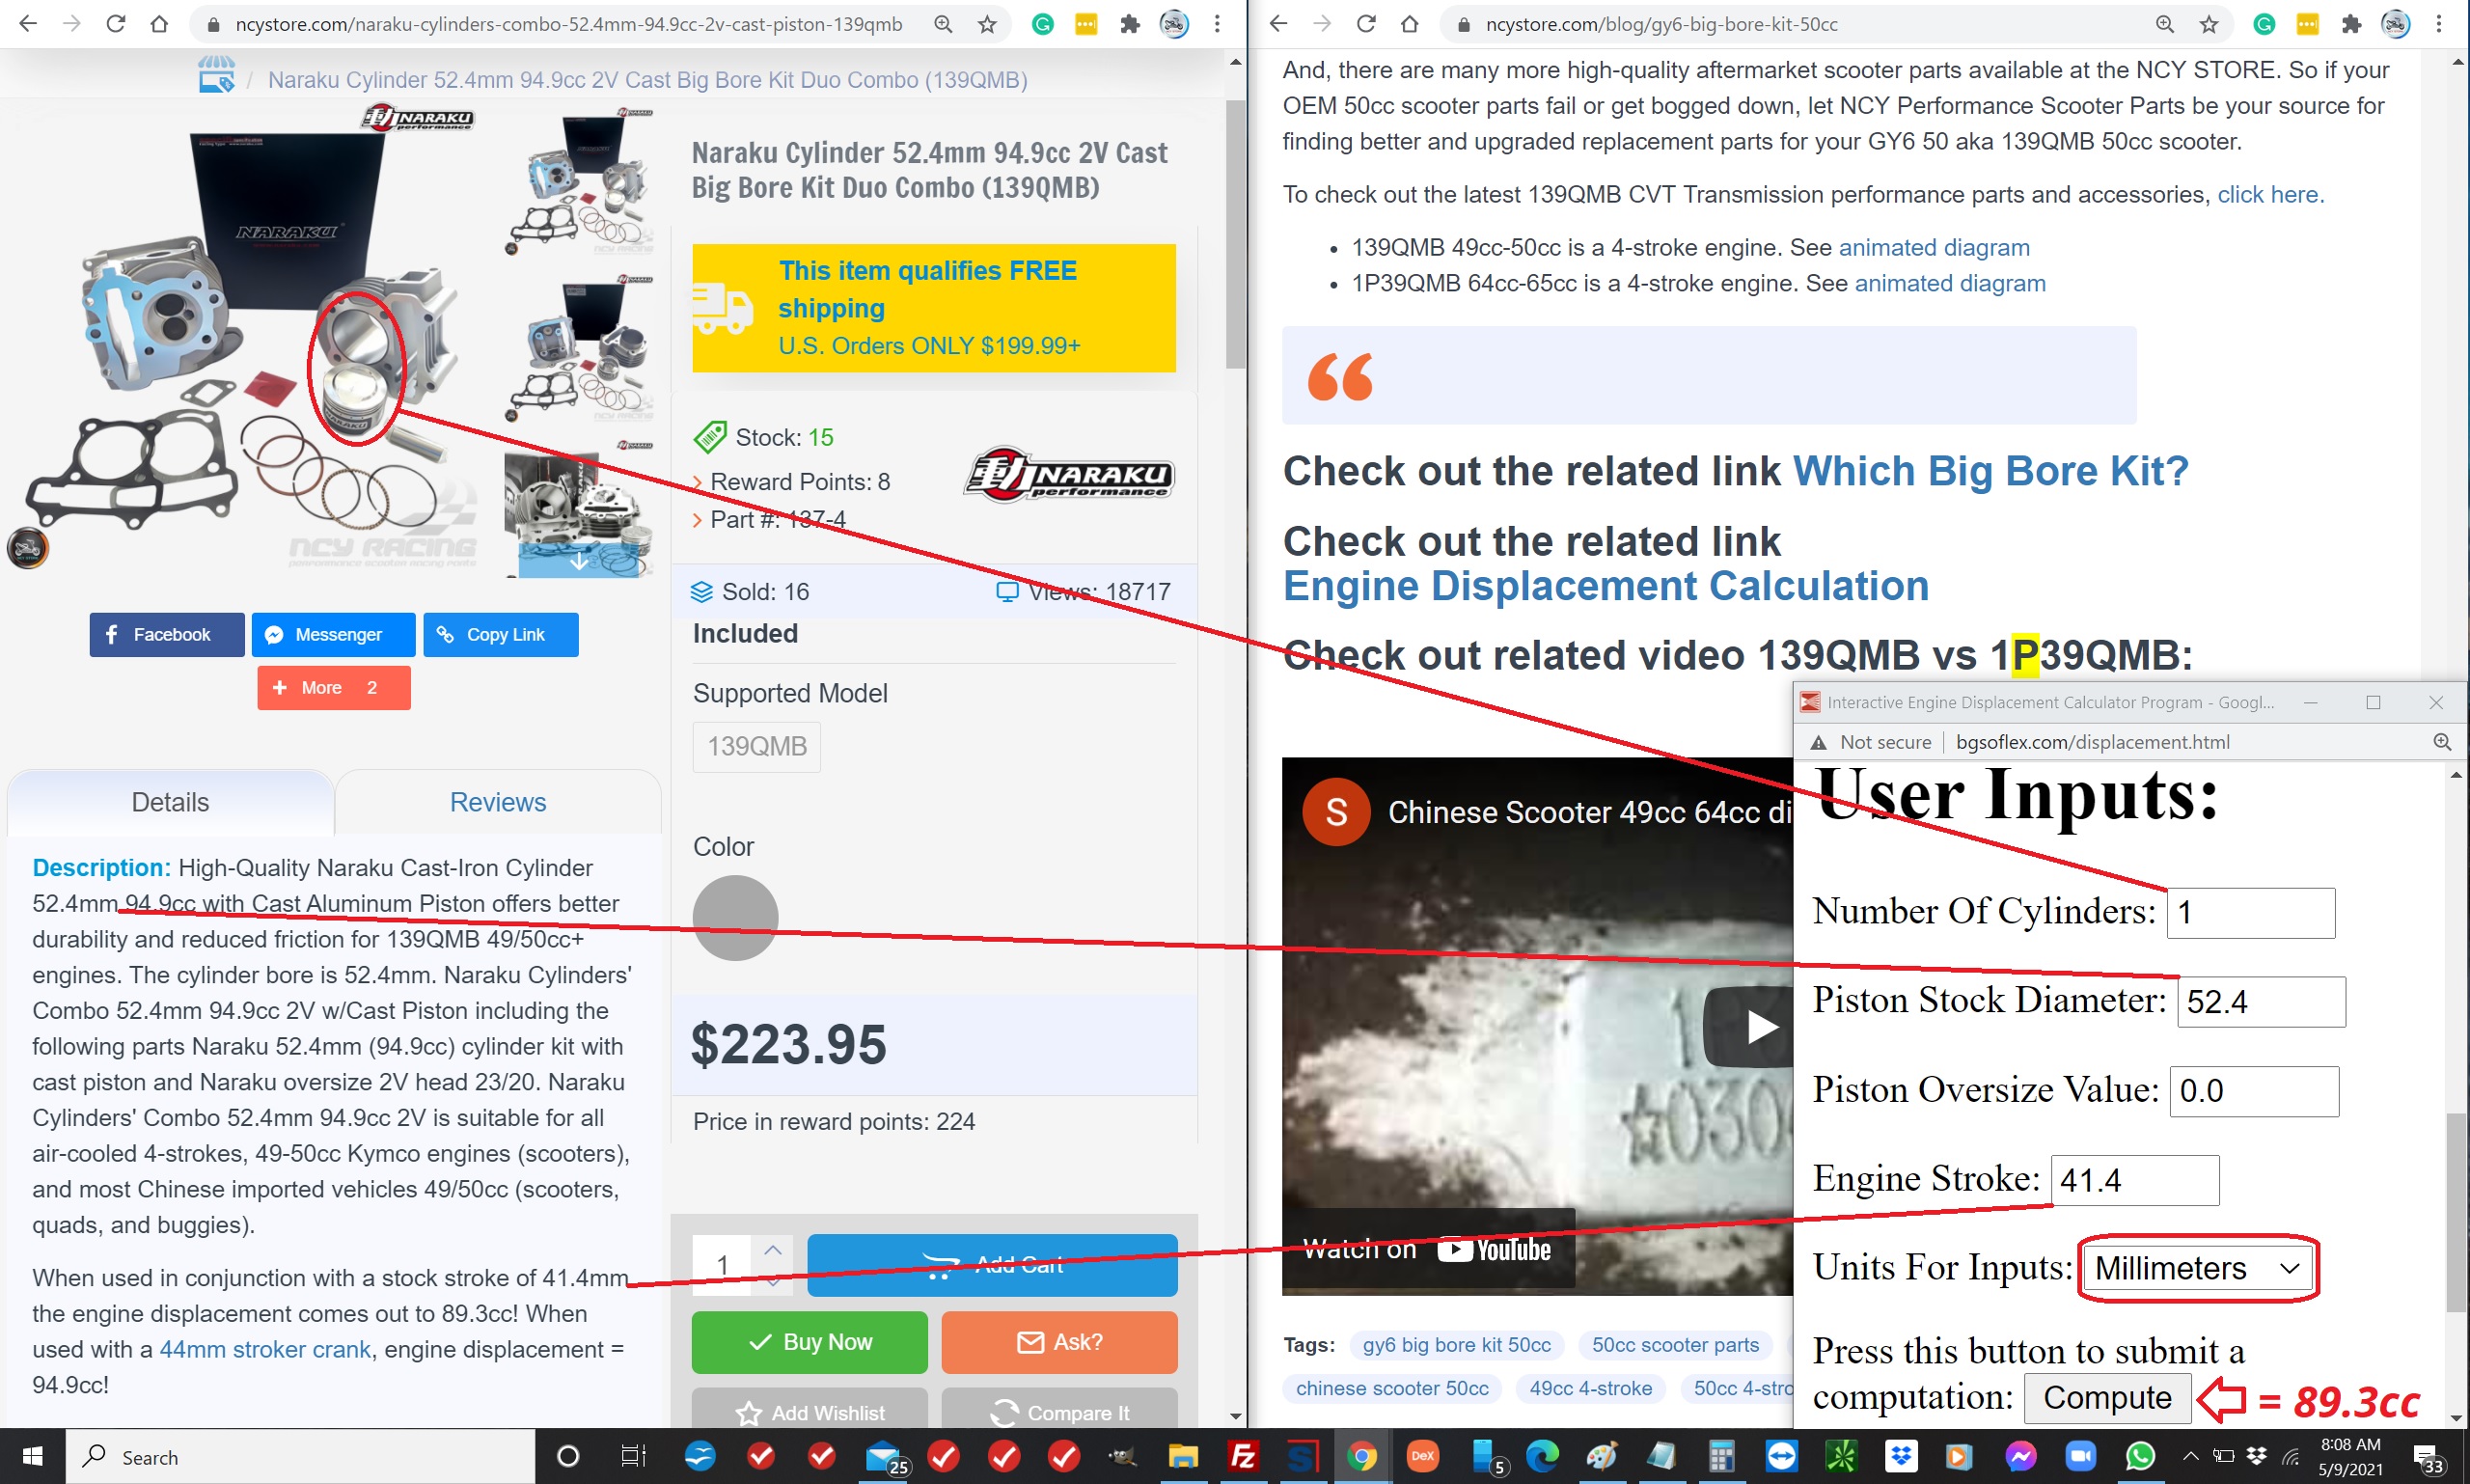
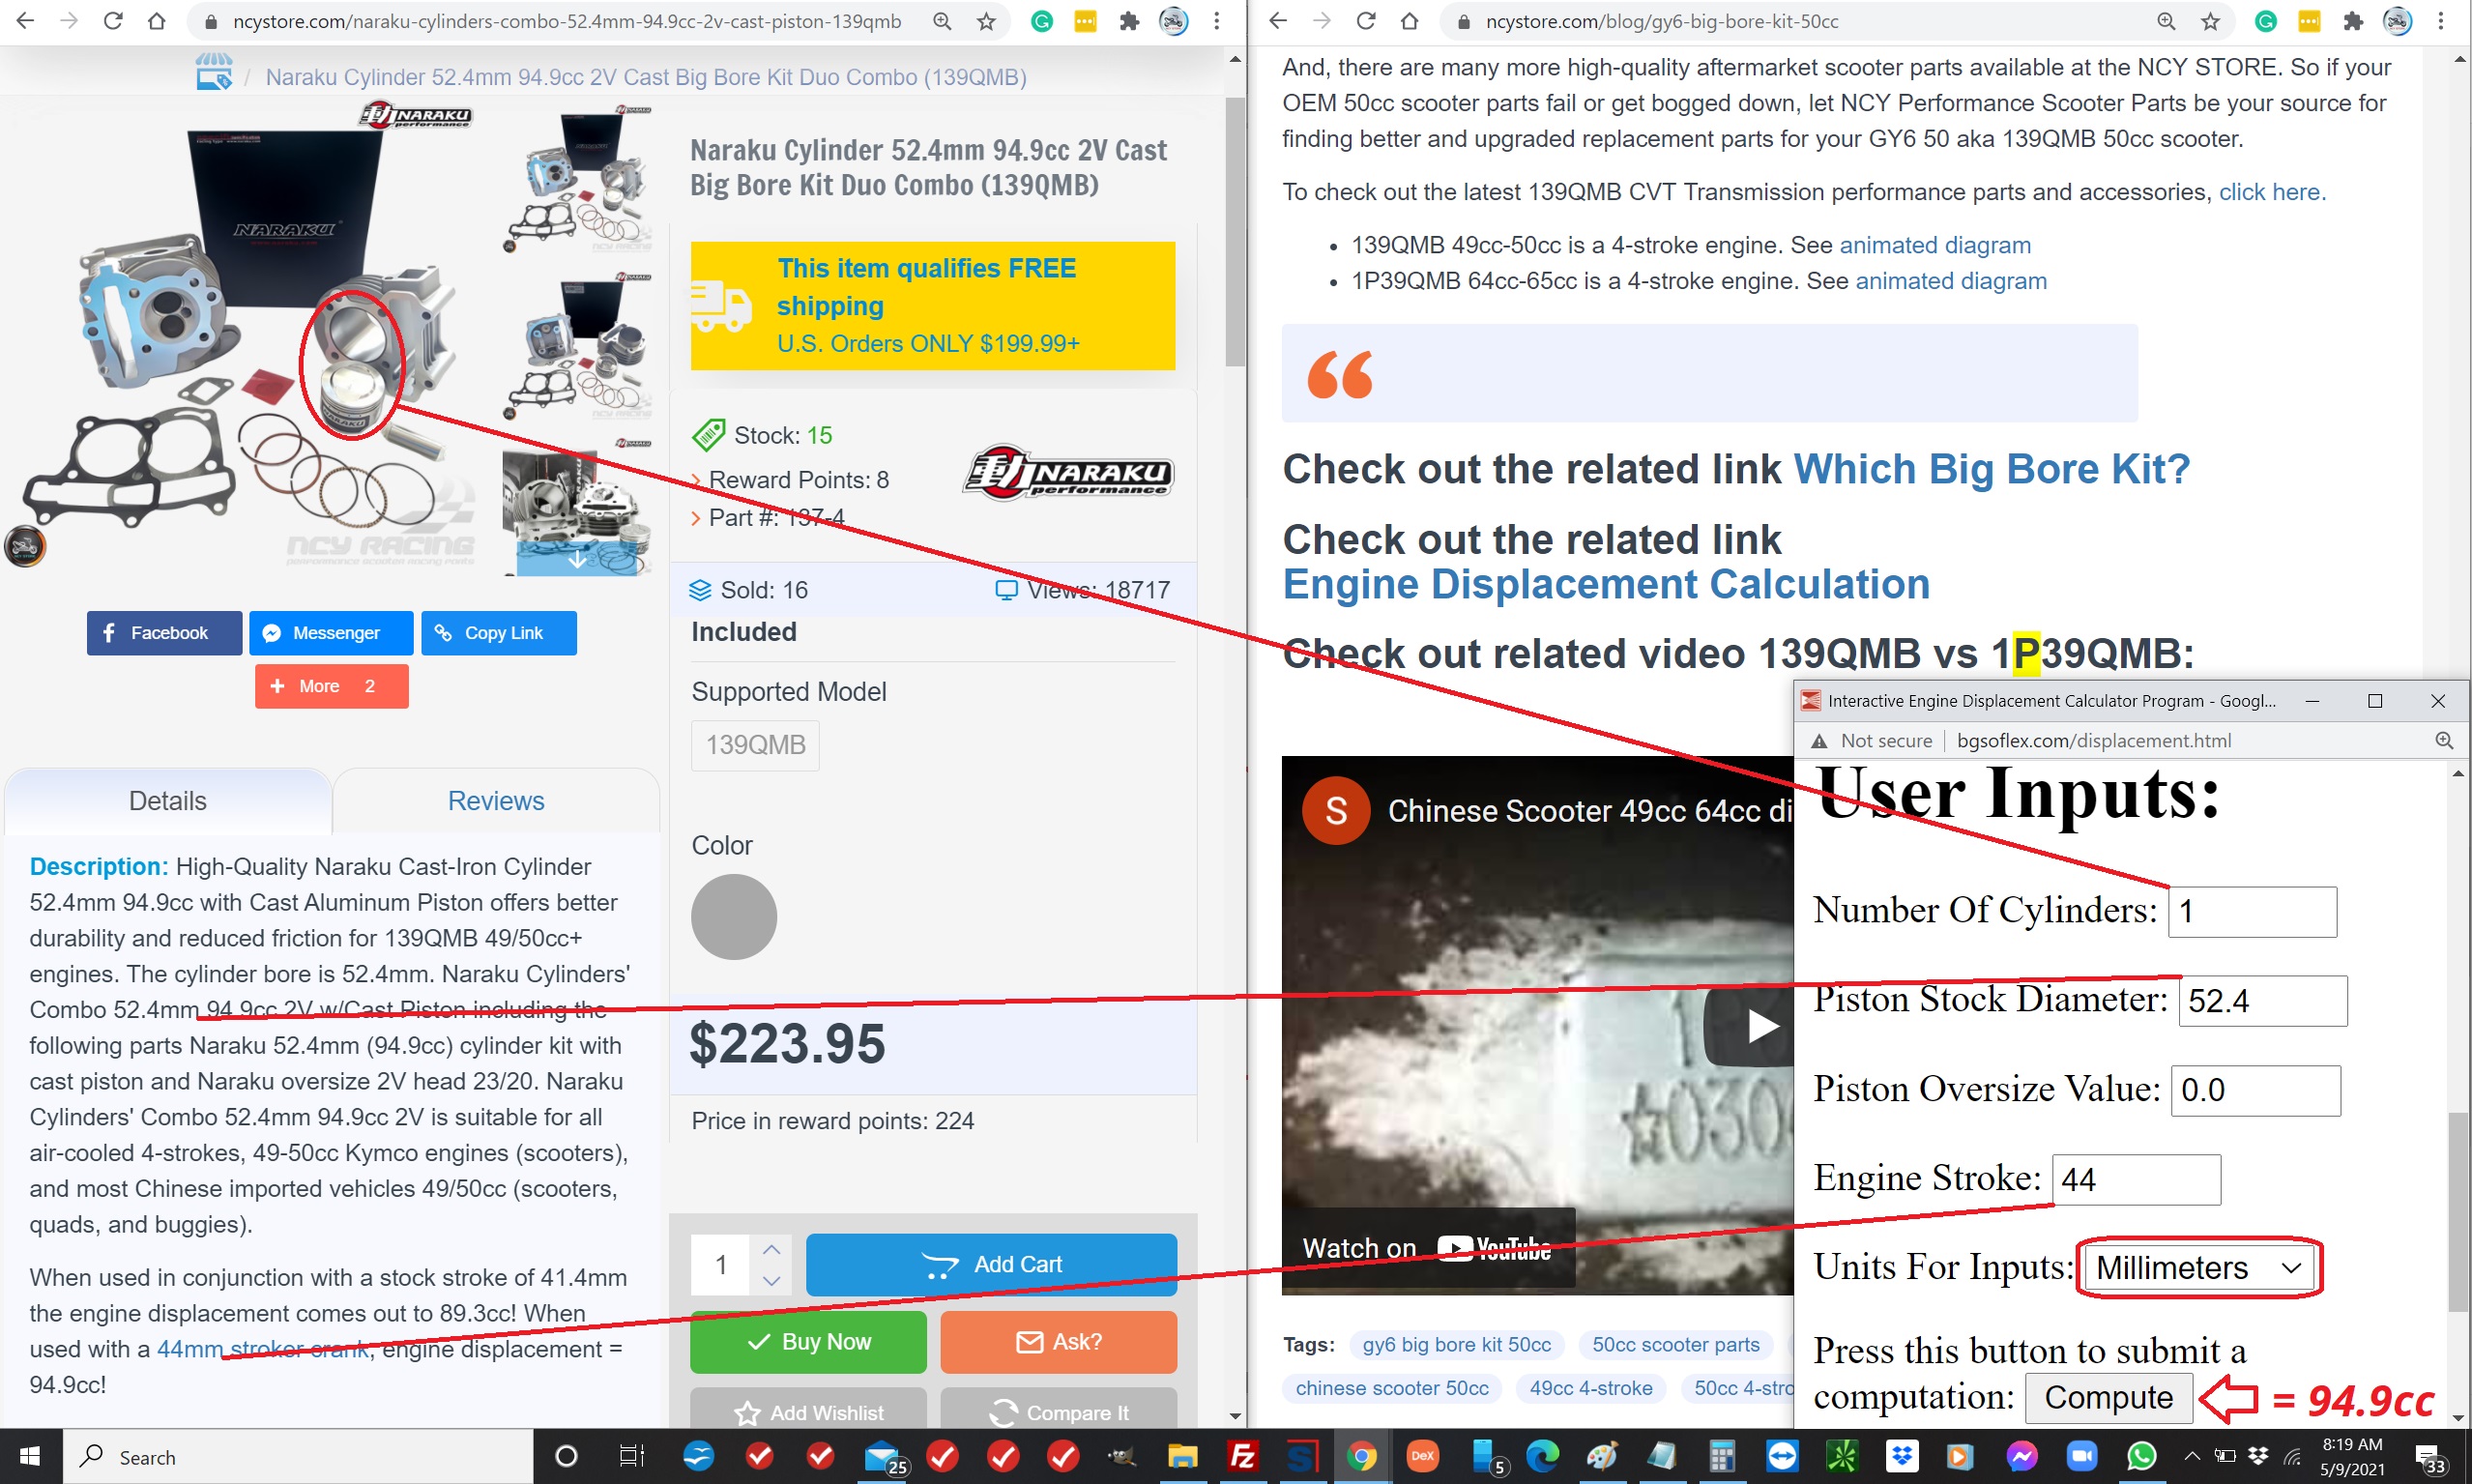
You can use the same "Engine Displacement Calculator" the links are below.
Download related link Taida GY6 Parts Cross Reference
Check out the related link Engine Displacement Calculator
Check out related video GY6 Big Bore Kit 171cc on 157QMJ:




















































2 Comment(s)
Looking at possibly improving my Tgb 150.
This is the most informative read iv found in one place
Leave a Comment